Ademco - PassPoint PTZIM
File Preview
Click below to download for free
Click below to download for free
File Data
| Name | ademco-passpoint-ptzim-7832105496.pdf |
|---|---|
| Type | |
| Size | 1.10 MB |
| Downloads |
Text Preview
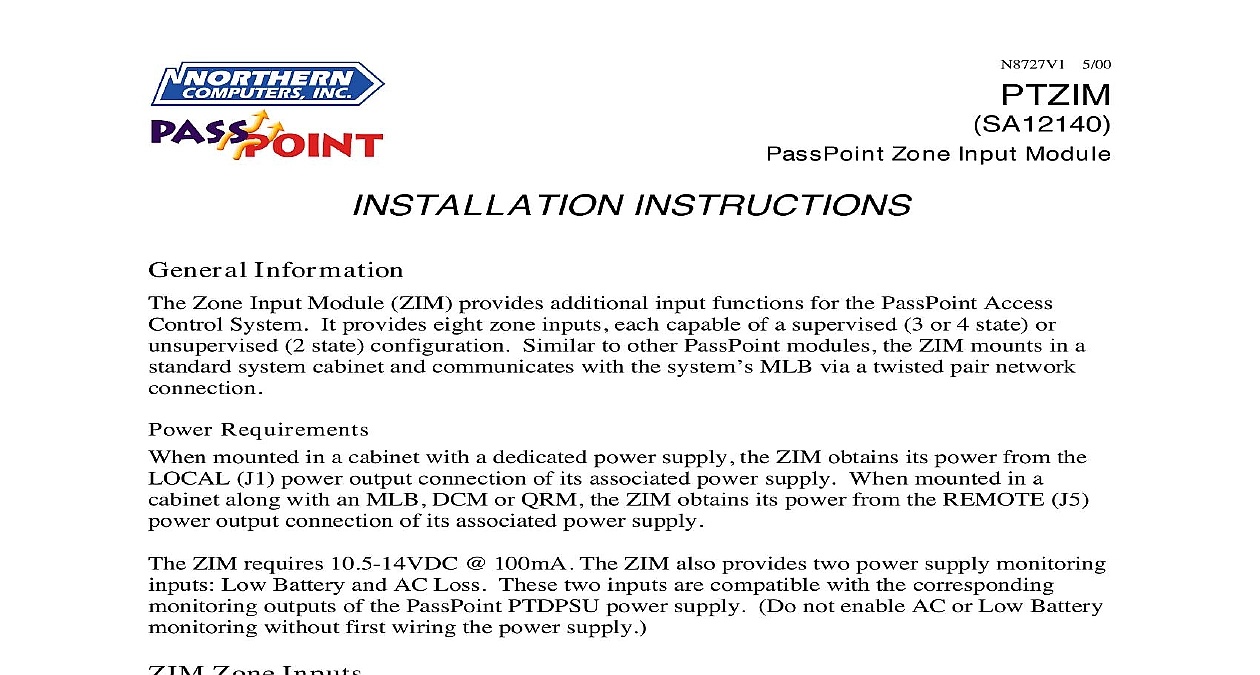
N8727V1 5 00 Zone Input Module INSTRUCTIONS Information Zone Input Module ZIM provides additional input functions for the PassPoint Access System It provides eight zone inputs each capable of a supervised 3 or 4 state or 2 state configuration Similar to other PassPoint modules the ZIM mounts in a system cabinet and communicates with the system MLB via a twisted pair network Requirements mounted in a cabinet with a dedicated power supply the ZIM obtains its power from the J1 power output connection of its associated power supply When mounted in a along with an MLB DCM or QRM the ZIM obtains its power from the REMOTE J5 output connection of its associated power supply ZIM requires 10.5 14VDC 100mA The ZIM also provides two power supply monitoring Low Battery and AC Loss These two inputs are compatible with the corresponding outputs of the PassPoint PTDPSU power supply Do not enable AC or Low Battery without first wiring the power supply Zone Inputs zone inputs on the ZIM can only be configured as That is they can never be to an access point as Door Status Monitoring or Request to Exit zones The zone inputs by the ZIM are for supplemental functions such as signaling certain conditions For you can use the ZIM zone inputs for burglary functions or as triggers for event action inputs can be configured in one of six ways Normally Open Normally Closed EOLR End of Line Resistor Normally Open EOLR Normally Closed EILR End In line Resistor Normal Open EILR Normally Closed zones require Ademco standard 2k ohm end of line resistors EOLR requires one 2k ohm resistor EILR requires two 2k ohm resistors 1 following table details the various configuration options for ZIM zone inputs States STATE ZONE STATE ZONE supervised STATE ZONE supervised State N O N C N O N C Open N C the ZIM in a Cabinet are two basic ways in which a ZIM can mounted in system cabinets The first way to mount the ZIM in a cabinet along with a supply and a Main Logic Board or Control Module In this case the ZIM on top of the MLB or DCM on as shown in Figure 1 there is an MLB DCM or QRM in the the ZIM gets its power from the supply REMOTE power output J5 MLB DCM QRM will get power from J1 a ZIM can be mounted in a cabinet with a dedicated power as shown in Figure 2 In this the power supply must be first since its mounting clips will be for the ZIM The dedicated power provides power to the ZIM from its power output J1 But it can also power to another ZIM through its power output J5 Therefore ZIM can be mounted in the cabinet second ZIM mounts on top of the first on standoffs see Figure 3 Input Input 1 Cabinet with MLB DCM QRM and Power Supply 2 Cabinet with ZIM Power Supply 2 Input the Zone Input Module on module procedure assumes you have already a power supply and another module a DCM in a system cabinet For this we will assume you are mounting ZIM to a DCM Secure six standoffs to the DCM using provided are holes in each corner and center the DCM to accommodate the standoffs are secured to the DCM using and lock washers 3 Cabinet with 2 ZIMs Power Supply Position the ZIM on top of the DCM standoffs and push down gently down on the ZIM will lock it onto the standoffs the Zone Input Module without another module If you haven done so already mount a power supply in the cabinet ZIM you mount must have access to power from a PassPoint power supply A VIEW OF BLACK CLIPS ZIM Hang three black mounting clips on the three middle raised tabs middle raised cabinet tabs are row of tabs second from the of the cabinet Insert the top of the ZIM into the at the bottom of the power mounting tabs power supply has also been to the cabinet using black tabs At the bottom of tabs are grooves into which the edge of the ZIM fits Swing the base of the ZIM into the lower black mounting clips and secure the board to the with the accompanying screws 3 Connections PS J5 or J1 MLB terms 16 pair network In PS terms 10 optional Supv Supv other system Connection Connection C Input C D Input D Input E Input E F Ground F Input H Ground H Input G Ground G Input A Ground A Input B Ground B Input Input Module Connections LEDs Blinks for 1 second during enrollment process If this LED blinks or is on at any other there is a hardware problem However expect this LED to blink briefly when is applied Three blinks OK Any other pattern indicates hardware problem and Configuring the ZIM the ZIM has been mounted and connected it needs to be enrolled into the system and Refer to the PassPoint Express Installation and Setup Guide N8949 or the Plus Installation and Setup Guide K4879 for information on enrolling and Zone Input Modules Information complete warranty information about this module and the entire PassPoint system refer to documentation accompanying your PassPoint system South Howell Avenue WI 53207 2000 PITTWAY CORPORATION 5 00