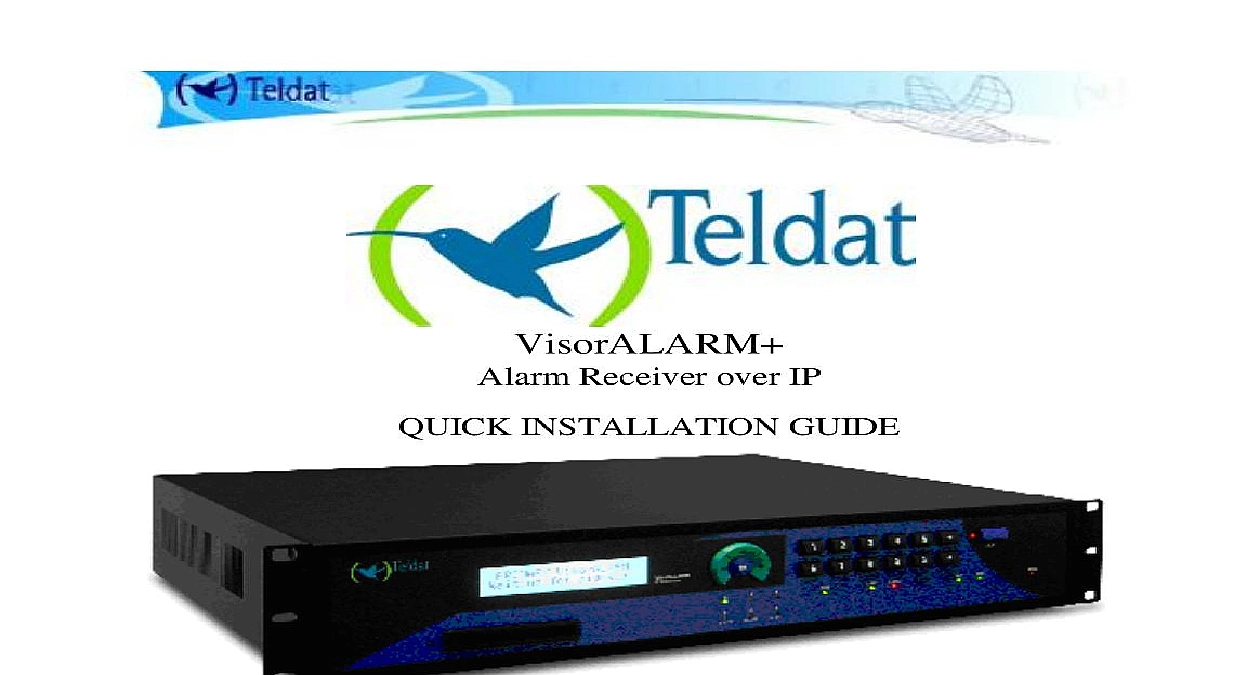
Fire-Lite Teldat VisorALARM+ Alarm Receiver over IP
File Preview
Click below to download for free
Click below to download for free
File Data
| Name | fire-lite-teldat-visoralarm-alarm-receiver-over-ip-8690754231.pdf |
|---|---|
| Type | |
| Size | 624.64 KB |
| Downloads |
Text Preview
Receiver over IP INSTALLATION GUIDE 377 I Version 1.0 Introduction Quick Installation Guide is designed to help the installation process of the VisorALARM and is to quick reference and initial configuration therefore this document contains information specific to aim and does not consider all possibilities For further information on this please see the installation manual or contact the Teldat Security technical service Requirements software Software compatible with Surgard Radionics 6500 or Ademco 685 receivers and available RS 232 line to an Ethernet network 10 or 100 Mbps connection 110 240 V AC with serial port speed 9600 8 data bits without parity bits 1 stop bit and without flow and terminal emulation software e g Windows HyperTerminal serial cable for configuration DB9 male DB9 female Connection and public1 IP address for the VisorALARM If Internet access is behind a NAT firewall you must have a private static IP address and a UDP port redirected to the said private address Checklist Cables Ethernet network cable category 5 power supply cable serial cable for configuration DB9 male DB9 female serial cable for transmission of alarms to the server DB9 male DB9 female Receiver Data Information of receiver to emulate Surgard Radionics 6500 or Ademco 685 and receiver identifier address subnet mask and gateway port for alarm reception RS 232 communication parameters speed data bits parity bits and stop bit Physical Connections switch or a hub in your network Connect one end of the Ethernet network cable to the connector labeled LAN and the other end to Connect the female end of the configuration RS 232 cable to t he PC serial port and the male end the connector labeled AUX on the rear panel of the VisorALARM Connect the DB25 end of the data RS 232 cable to the AUT connector and the other end to the with the automation software you have a printer connect the DB25 end of the printer RS232 cable to the PRN connector and other end to the serial printer Connect the female end of the power supply cable to the power connector of the device and the end to a grounded socket Configuration on the device In the PC terminal emulator you will see some information on device start up until information similar to that shown below is displayed c 2001 2004 model VISORALARM PLUS EU 6 119 CPU MPC8260 S N 472 01349 LAN 4 WAN Lines software version 10.6.33 Feb 26 2007 14 18 00 this point the device is ready to be configured The commands required for configuration are below and grouped by functionality with default config you receive the device from factory it is shipped with a basic default configuration If you wish defaults the device to this factory configuration use the default config command 4 default conf your session changes will be lost default configuration Yes No Y IP the following commands substituting ip address for the VisorALARM IP address mask for network mask and gateway for the gateway IP address ip Internet protocol user configuration config address ethernet0 0 ip address mask config route 0.0.0.0 0.0.0.0 gateway 1 config classless config exit the type of Alarm Receiver the udp port for the alarm receiver This is the receiver UDP port where the mIP devices send its registration and supervision data packets serial0 0 ARLY Interface Configuration Cfg supervision port udp port dependent on the emulated receiver the commands required to configure the emulation of different receivers with their default parameters for communication with the automation server are below Gard MLR 2000 MLR2E Cfg alarm receiver protocol sur gard Cfg alarm receiver parameters r 0 Cfg alarm receiver receiver id 01 Cfg alarm receiver line id 001 Gard DLR 2 Cfg alarm receiver protocol sur gard Cfg alarm receiver parameters r 1 Cfg alarm receiver receiver id 01 Cfg alarm receiver line id 1 6500 Cfg alarm receiver protocol radionics 6500 Cfg alarm receiver receiver id 01 Cfg alarm receiver line id 1 Cfg alarm receiver parameters h 0 685 if you do not wish to use the ACK NACK protocol eliminate the second line Cfg alarm receiver protocol ademco 685 Cfg alarm receiver receiver id 1 Cfg alarm receiver line id 1 you need to configure another receiver or line id numbers please r and alarm receiver line id commands the parameters that appear with identifier 1 with desired numbers keeping the length of the field in the the configuration pattern for MIP installation quick configuration process exists to simplify the installation process for new MIPs Here a number of parameters are manually configured in the MIP and subsequently a is executed using an installer password The MIP receives the configuration of the pattern during this process where the installer password coincides with that provided For further you will see a configuration pattern displayed with installer password on each of these parameters please see the VisorALARM Installation manual Cfg cfg pattern 1 default Cfg cfg pattern 1 instalator password 1111 Cfg cfg pattern 1 usr password 1234 Cfg cfg pattern 1 mip password ZYXW5678 Cfg cfg pattern 1 receiver password WXYZ4321 Cfg cfg pattern 1 keep alive timer 45 Cfg cfg pattern 1 keep alive retries 3 Cfg cfg pattern 1 keep alive retries timer 2 Cfg cfg pattern 1 phone length 9 Cfg cfg pattern 1 alarm tx retries 2 Cfg cfg pattern 1 callback phone 918076565 Cfg cfg pattern 1 bck receiver IP 80.26.96.183 Cfg cfg pattern 1 bck keep alive timer 45 Cfg cfg pattern 1 bck keep alive retries 3 Cfg cfg pattern 1 bck keep alive retries timer 2 events Cfg exit ELS Config config enable trace subsystem ARLY ALL config exit the speed of the UD communication ports set the speed for the UD com1 port use the next command replacing the portSpeed parameter by desired port speed serial1 0 Cfg speed portSpeed Cfg exit set the speed for the UD com2 port use the next command replacing the portSpeed parameter by desired port speed serial1 1 Cfg speed portSpeed Cfg exit save the configuration and restart in order to activate the new settings If you wish to check configuration the show config command will display the configuration from the menu this is located together with all its submenus save configuration Yes No No y on Flash not saved in SmartCard you sure to restart the system Yes No y Please wait Corp Brickell Ave Suite 1100 FL 33131 305.372.3480 Support tech teldat com


