Kidde 3101089-EN R007 FX-270 Single Action Pull Station Installation Sheet

File Preview
Click below to download for free
Click below to download for free
File Data
| Name | kidde-3101089-en-r007-fx-270-single-action-pull-station-installation-sheet-4035687912.pdf |
|---|---|
| Type | |
| Size | 1.10 MB |
| Downloads |
Text Preview
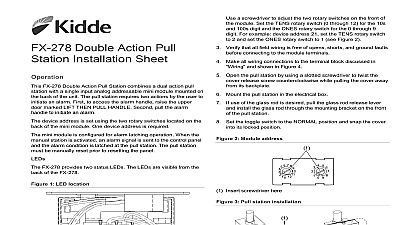
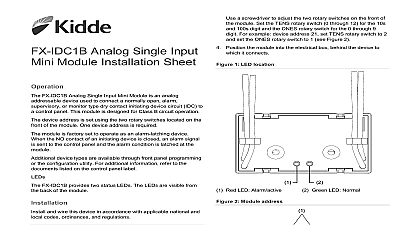
Single Action Pull Installation Sheet FX 270 Single Action Pull Station combines a single action pull with a single input analog addressable mini module mounted on back of the unit The pull station requires a single action pulling the handle to initiate an alarm device address is set using the two rotary switches located on the of the mini module One device address is required mini module is configured for alarm latching operation When the is pulled an alarm signal is sent to the control panel and the condition is latched at the pull station The pull station must be reset prior to resetting the panel FX 270 provides two status LEDs The LEDs are visible from the of the FX 270 1 LED location For example device address 21 set the TENS rotary switch 2 and set the ONES rotary switch to 1 see Figure 2 Verify that all field wiring is free of opens shorts and ground faults connecting to the module terminals Make all wiring connections to the terminal block as discussed in and shown in Figure 4 Open the pull station by using a slotted screwdriver to twist the release screw counterclockwise while pulling the cover away its backplate Mount the pull station in the electrical box use of the glass rod is desired pull the glass rod release lever install the glass rod through the mounting bracket on the front the pull station Set the toggle switch to the NORMAL position and snap the cover its locked position 2 Module address Insert screwdriver here 3 Pull station installation Red LED Alarm active Green LED Normal and wire this device in accordance with applicable national and codes ordinances and regulations This pull station does not operate without electrical power fires frequently cause power interruption discuss further with the local fire protection specialist The pull station is shipped from the factory complete with a input mini module attached The module contains no parts and should not be disassembled install the pull station To meet the Americans with Disabilities Act ADA mount the box 48 inches max from the floor and attach the pull using screws provided with the electrical box Set the module address Refer to the panel technical reference for a list of valid addresses a screwdriver to adjust the two rotary switches on the front of module Set the TENS rotary switch 0 through 12 for the 10s 100s digit and the ONES rotary switch for the 0 through 9 Compatible electrical box Cover release screw Toggle switch Backplate Glass rod release lever Screw For system supervision do not loop the circuit wires around terminals Break the wire run at each terminal the device as shown in Figure 4 Be sure to observe the polarity the wires additional wiring information refer to the documents listed on the panel label wiring is power limited and supervised 2020 Carrier 2 3101089 EN REV 007 ISS 21OCT20 4 Pull station wiring SLC in from previous device or control panel SLC out to next device or EOLR maximum maximum line size electrical boxes order surface mount glass rods environment humidity temperature range VDC at 350 V peak to peak to 18 AWG 0.75 to 2.5 mm American 2 1 2 in 64 mm single gang box 4 in square box 1 1 2 in mm deep box with single gang ring Cream enamel finish Red enamel finish P N 270 GLR pkg 20 rods P N 27165 pkg 12 rods to 120 0 to 49 to 93 noncondensing at 32 to 140 to 60 information American Indoor dry 38 CAN ULC S528 information contact information see www kidde esfire com 2 3101089 EN REV 007 ISS 21OCT20


