Mircom LT-6055 OpenGN to MR-2200 2900 Connection Instructions (English)
File Preview
Click below to download for free
Click below to download for free
File Data
| Name | mircom-lt-6055-opengn-to-mr-2200-2900-connection-instructions-english-9052136847.pdf |
|---|---|
| Type | |
| Size | 3.24 MB |
| Downloads |
Text Preview
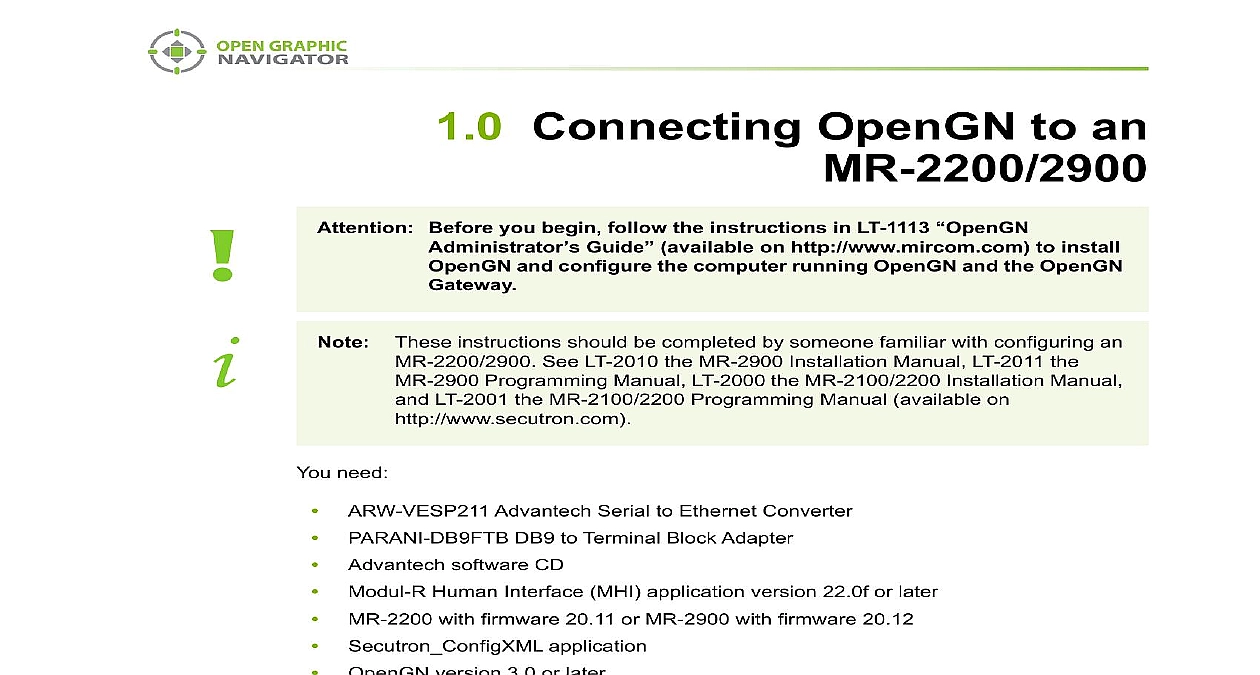
1.0 Connecting OpenGN to an Before you begin follow the instructions in LT 1113 Guide available on http www mircom com to install and configure the computer running OpenGN and the OpenGN instructions should be completed by someone familiar with configuring an See LT 2010 the MR 2900 Installation Manual LT 2011 the Programming Manual LT 2000 the MR 2100 2200 Installation Manual LT 2001 the MR 2100 2200 Programming Manual available on need Advantech Serial to Ethernet Converter DB9 to Terminal Block Adapter software CD Modul R Human Interface MHI application version 22.0f or later MR 2200 with firmware 20.11 or MR 2900 with firmware 20.12 OpenGN version 3.0 or later OpenGN Gateway version 3.0 or later OpenGN license key application cable Connect the ARW VESP211 section explains how to connect 5 components MR 2200 2900 OpenGN Gateway which is installed as part of OpenGN OpenGN this can be on the same computer as the OpenGN Gateway ARW VESP211 communicates between the MR 2200 2900 and the OpenGN Gateway ARW VESP211 can be connected directly to the OpenGN Gateway computer with an cable or it can communicate over a local area network Rev 7 OpenGN to an MR 2200 2900 Connect the PARANI DB9FTB to the COM port on the ARW VESP211 Connect pins 3 and 4 from the PARANI DB9FTB to the COMLINK 3 port and 3 port on the MR 2200 2900 as shown in Figure 1 Connect the ARW VESP211 to the power you want to connect the ARW VESP211 to the OpenGN Gateway computer directly an Ethernet cable to connect the ARW VESP211 to the computer running the Gateway you have a local area network an Ethernet cable to connect the ARW VESP211 to the same network that the Gateway computer is connected to 3 MR 2900 3 3 CABLE 300 WITH GATEWAY 1 the ARW VESP211 to the OpenGN Gateway Computer Directly Configure the ARW VESP211 Configure the OpenGN Gateway Computer to Connect to the order to initially connect to the ARW VESP211 the OpenGN Gateway computer must have specific IP address On the computer that the OpenGN Gateway is on click Start then click Settings Click Network and Internet Click Network and Sharing Center Click the Ethernet connection Rev 7 OpenGN to an MR 2200 2900 Ethernet Status window appears 2 Status Click Properties Ethernet Properties window appears 3 Properties Double click Internet Protocol Version 4 TCP IPv4 Rev 7 OpenGN to an MR 2200 2900 Internet Protocol Version 4 TCP IPv4 Properties window appears 4 Protocol Version 4 TCP IPv4 Properties Click Use the following IP address Type the following addresses address 169.254.102.40 mask 255.255.0.0 Click OK Install the Vlinx Serial Server Manager the Advantech CD into the OpenGN Gateway computer Vlinx Serial Server Manager Installation Wizard starts automatically 5 Welcome to the Vlinx Serial Server Manager Installation Wizard Follow the instructions on the screen to install the Vlinx Serial Server Manager Rev 7 OpenGN to an MR 2200 2900 Configure the ARW VESP211 On the OpenGN Gateway computer open the Serial Server Manager click Start B B Vlinx Vlinx Serial Server Manager Vlinx Serial Server Manager appears 6 Serial Server Manager Click I don know the IP address of the device Click Connect Vlinx Serial Server Manager looks for devices 7 Device Details Login screen for the ARW VESP211 device appears 8 screen Rev 7 OpenGN to an MR 2200 2900 Enter the Login password then click Login By default the password is blank General screen appears 9 General screen Enter a name that describes the panel that the device is connecting to for instance Select I want to change the password then enter the new password Click Save Keep a record of the password You will need it in a later step Click Network on the left sidebar Network screen appears 10 Network screen Enter the following information address Mask Gateway your network administrator for assistance The IP must be in the same range as the IP address of the running the OpenGN Gateway The gateway and mask must be the same as they are on the OpenGN computer example if the OpenGN Gateway computer IP address subnet mask are 192.168.1.10 and 255.255.255.0 then can enter 192.168.1.11 and 255.255.255.0 as the IP address and subnet mask Rev 7 OpenGN to an MR 2200 2900 Keep a record of the IP address You will need it in a later step ensure a constant connection to OpenGN you must assign a static IP address the ARW VESP211 Click Next Port 1 Settings screen appears 11 Port 1 Settings Enter the following information want to use this network protocol wait for connections server want to wait for connections on port number limit the number of to allow everyone to connect this option connection this option Click Next Rev 7 OpenGN to an MR 2200 2900 Port 1 Advanced window appears 12 Port 1 Advanced Enter the following information want to control when data packets sent over the network Intercharacter Timeout to send data immediately no more characters are for this option milliseconds Click Next Port 1 Serial window appears 13 Port 1 Serial Rev 7 OpenGN to an MR 2200 2900 Enter the following information bits bits Control 2 Wire Parity Flow Control Click Next Under Save click the Save button and wait for the Login screen to appear Configure the OpenGN Gateway Computer the IP settings for the OpenGN Gateway computer to their previous values See 1.2.1 on page 2 for instructions on how to change the IP settings you need assistance contact your network administrator you are connecting the OpenGN Gateway computer to an MR 2200 2900 panel over Ethernet enter an IP address that is different than the IP address of the panel Enter the same subnet mask as the subnet mask on the panel Rev 7 OpenGN to an MR 2200 2900 Configure the Job for the MR 2200 2900 need Modul R Human Interface MHI application version 22.0f or later Connect the MR 2200 2900 to the computer that has the MHI configurator application on it the MHI application open the job for the MR 2200 2900 panel Click System Edit Editing window appears 14 The Editing Window Rev 7 OpenGN to an MR 2200 2900 Click the Panels button Panels window appears 15 The Panels Window the Port 3 menu select PC connect Click Exit and send the job to the panel Export the Configuration File the MHI application click System Export 16 Export Export System window appears Rev 7 Select OpenGN and then click Export OpenGN to an MR 2200 2900 17 OpenGN File Type Click Yes 18 Export File Confirmation Rev 7 OpenGN to an MR 2200 2900 Convert the Configuration File to XML Format need Secutron ConfigXML application Open the Secutron ConfigXML application 19 The Secutron to OpenGN XML Converter Rev 7 Enter the following information File Path Tag Unique Id version Non Restorable OpenGN to an MR 2200 2900 the text file you created in section 1.4 description of the job name to identify the job You can define this Make a note of this you will need it later version of the job