Siemens GPMI-UK Upgrade Kit For XLS Node GPMI-2, Installation Instructions
File Preview
Click below to download for free
Click below to download for free
File Data
| Name | siemens-gpmi-uk-upgrade-kit-for-xls-node-gpmi-2-installation-instructions-1678530294.pdf |
|---|---|
| Type | |
| Size | 705.37 KB |
| Downloads |
Text Preview
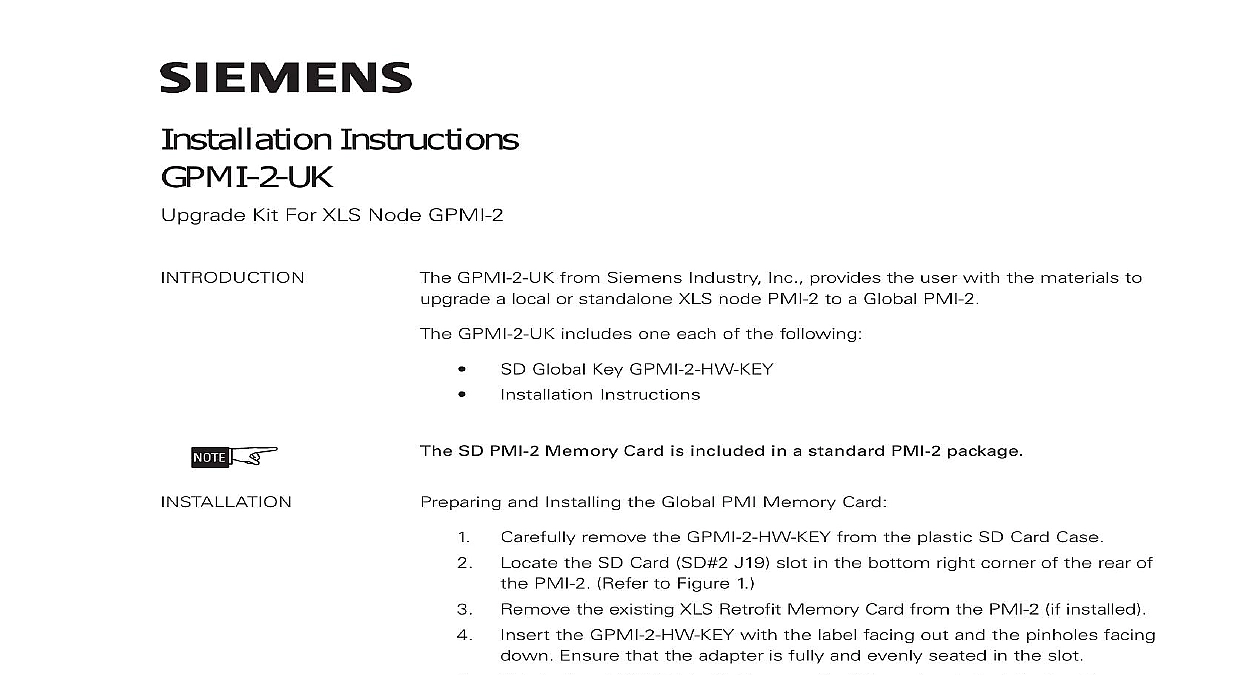
Installation Instructions Kit For XLS Node GPMI 2 GPMI 2 UK from Siemens Industry Inc provides the user with the materials to a local or standalone XLS node PMI 2 to a Global PMI 2 GPMI 2 UK includes one each of the following Global Key GPMI 2 HW KEY Instructions SD PMI 2 Memory Card is included in a standard PMI 2 package and Installing the Global PMI Memory Card remove the GPMI 2 HW KEY from the plastic SD Card Case the SD Card SD 2 J19 slot in the bottom right corner of the rear of PMI 2 Refer to Figure 1 the existing XLS Retrofit Memory Card from the PMI 2 if installed the GPMI 2 HW KEY with the label facing out and the pinholes facing Ensure that the adapter is fully and evenly seated in the slot the old XLS Retrofit Memory Card if previously installed until completion of the system upgrade 1 of SD Cards A6V10372787 a en Inc Inc Inc Industry Inc Inc TTTTTececececechnologies Di Di Di Division Di the GPMI 2 remove the memory card from the SD Card SD 1 J18 slot in the left corner of the rear of the PMI 2 Confirm it is not locked SD lock should be in the unlocked position standard off the shelf SD High Capacity Memory card SDHC can be used in SD 1 the SD card into the PC SD card slot and note the drive letter assigned the SD card by computer the global configuration file to the SD card via Zeus Build Trans Configuration to Memory Card SD Card that the selected SD drive in the Global Configuration To Card window corresponds to the one assigned to the drive containing SD card Change it if required 2 Window 3 Global To Card the transfer button to start the global configuration transfer Industry Inc Technologies Division A6V10372787 a en Wait for the Zeus transfer completion message and unmount the SD card the SD card has been unmounted remove it from the PC the SD memory card in the GPMI 2 left SD 1 slot J18 that the second SD card Global Key GPMI 2 HW KEY is inserted in GPMI 2 right SD slot SD 2 J19 and SD 2 are not interchangeable GPMI 2 HW KEY in SD 2 provides Global while SD memory card in SD 1 provides global and local configuration up Connect the USB cable from the PC to the PMI 2 USB port J16 Transfer configuration to panel via Zeus Build Transfer Configuration to 4 Completion 5 to Panel 6 Transfer Select the COM port associated with the USB connection to PMI 2 Click the button Ensure that the desired node is selected in the Configuration To window Industry Inc Technologies Division A6V10372787 a en 7 Configuration Panel 8 Progress and Message 9 Configuration Panel Complete Click the button to initiate the transfer of the local configuration GPMI 2 The transfer progress and status message is displayed Click the at the Transfer completed window Industry Inc Technologies Division Park NJ Canada Limited Technologies Division Kenview Boulevard Ontario L6T 5E4 Canada A5Q00053316 A6V10372787 a en