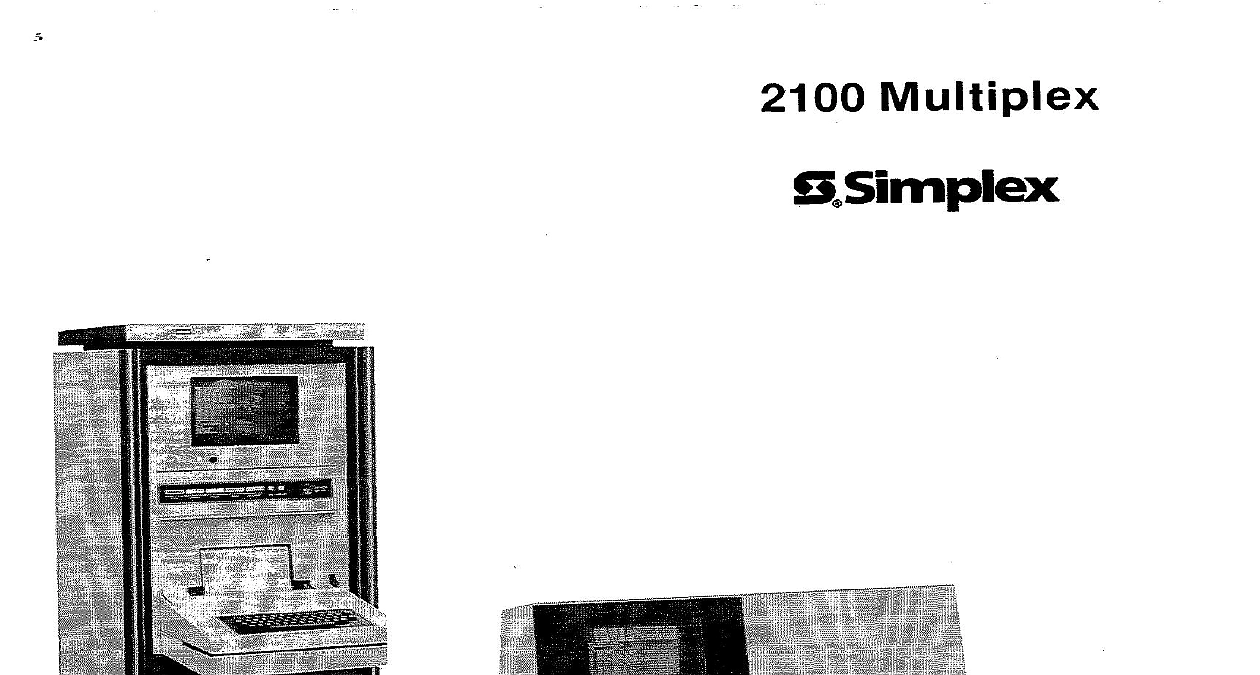
Simplex 2100 Troubleshooting Manual

File Preview
Click below to download for free
Click below to download for free
File Data
| Name | simplex-2100-troubleshooting-manual-6495803712.pdf |
|---|---|
| Type | |
| Size | 2.29 MB |
| Downloads |
Text Preview
2100 Multiplex OF CONTENTS Aids Test Points Definitions HAZARD electrical power when making any adjustments servicing should be performed by quali Simplex Representatives repairs publication designed as a troubleshooting aid in locating malfunctions 2100 Multipiex systems the information will be able to isolate most faults to a board level this publication a troubleshooter with a good background 2100 Multjplex sys publication divided into two major sections Outlines Flowcharts outlines provide details on tests and checks a 2100 system we recommend that you read through these outlines of troubleshooting procedures the flowcharts may ask you to perform Before you gain a better understand are five separate flowcharts as shown below troubleshooting can follow the flow to the end of thischart without being directed to another flowchart your system working properly the system this chart will direct you to the flowchart nec to locate the trouble should always begin at the Basic Flowchart which there is a malfunction a test chart using the flowcharts always follow you skip could be the one most necessary sure to read all information list in an action block all steps necessary to perform an action materials aren heeded it may prevent you from locating the problem flow exactly as directed without skipping any steps The you wasn references to outlines and equally important to in the reference blocks before performing an action locating the trouble The flowcharts utilize universal symbols However if you are unfamiliar with their meaning to the page of symbol definitions preceding the flowcharts 8 82 Troubleshooting Operating Instructions CRT Keyboard Service Instructions Installation Jumper Placement and Switch Settings Printer Service Instructions 575 529 Test Equipment Diagnostic Program Line Tester Panel Outline AC power Both halves of the POWER indicator green are on at all times to indicate presence of DC and in The SERVICE indicator white is on only when the CPU is not functioning The TROUBLE indicator yellow is on when an uncorrected malfunction exists Key in the trouble messages See the Transponder Outline to obtain a listing of all supervisory procedures to insert a trouble SUPR FAULT when one is desired The SECURITY indicator yellow is on when a priority 2 alarm is set tripped Key in the com will list the for each alarm When a priority 2 alarm is desired see the Transponder Outline for the to obtain a listing of all set tripped alarms The transponder specification to initiate the alarm to initiating an alarm personnel and proper authorities Police Fire Department must be notified The ALARM indicator red is on when a priority 1 alarm is set Key in the command to obtain listing of all set alarms The transponder specification sheets will list the priority level for each alarm to the Transponder Outline for the procedure to initiate an alarm The tone device sounds when any of the first three indicators SECURITY or TROUBLE is or if the SERVICE indicator on The first three indicators will blink from the time a con is changed until it is acknowledged All alarms and troubles must be acknowledged silence tone device The operation of the tone device can be checked by initiating an alarm or a trouble The PAPER ADVance push button is pressed to make the printer feed paper If system is equipped acentronics Printer the front panel will not have this switch The ACKnowledge push button is pressed to indicate that a changed condition being recognized the ACK push button when one or more of the first three indicators blinking should pro an acknowledge message This message is preceded by and gives the status of the alarm trouble message that was acknowledged Each change in alarm or trouble status must be acknowl individually 8 82 Outline Measure AC voltage at input of printer or fan plug 115 f 7 VAC Measure DC voltage at plug Pl on motherboard Pin 1 8.5 0.3 VDC Pin 2 12 2 0.3 VDC Pin GND Pin 4 12 c 0.3 VDC The 5VDC used in the CPU can be checked by reading across ca C2 on the lower right front of the motherboard A number of false messages are generated when power is applied to the console Wait five for these to reset prior to continuing with the troubleshooting Disconnect power when replacing PC boards by removing one of the battery connectors front of pedestal opening both AC circuit breakers inside back door Lights on the front panel are plugged in from the top Access the front panel board is gained by removing the access plate on the bottom of the shelf Keyboard switches are replaceable Two pins from the switch are soldered into the PC board to the PC board is obtained by removing the access panel four screws beneath the support the keyboard Remove the friction held key caps by pulling them free Unsolder the two pins from bottom of the PC board Use a solder sucker to remove molten solder Remove the switch keyboard Place a new switch above on the switch shaft the two pins to the PC board from below To replace the key cap position push down until the cap is seated position While applying pressure on the switch Measure output signals at the terminals on the l O boards Batteries are removed from the front The printer is removed from the back of the cabinet The power supply is removed from the back is most easily removed when the printer is removed The CRT when removed is removed from the back of the cabinet The CRT Logic PC board is removed from the back of the cabinet The back of the unit and the con are the only objects retaining the board The 210


