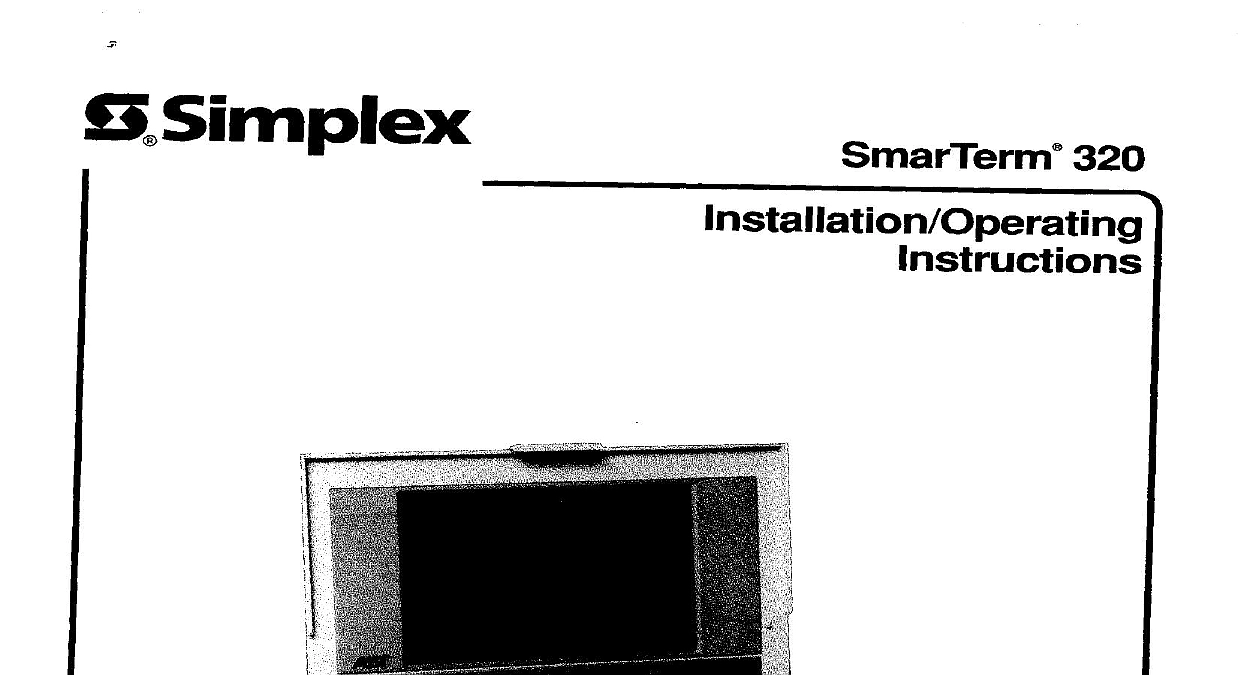
Simplex SmarTerm 320 Installation-Operating Instructions

File Preview
Click below to download for free
Click below to download for free
File Data
| Name | simplex-smarterm-320-installation-operating-instructions-6521378940.pdf |
|---|---|
| Type | |
| Size | 2.40 MB |
| Downloads |
Text Preview
S Simplex 320 10 93 OF CONTENTS Documentation 320 INSTALLATION Transponder Setup Transponder Hardware Connection Terminal Mode Setup Terminal Mode Hardware Connection 320 KEYBOARD MAPPING THE SmarTerm 320 WITH A UNIVERSAL TRANSPONDER THE SmarTerm 320 WITH A 2120 35 publication provides a comprehensive more detailed to SmarTerm 320 software to the SmarTerm 320 User Guide supplied with the software on an IBM compatible PC illustrations provided may differ only where noted actual screen Change actual screen Documentation SmarTerm 320 Installation Guide SmarTerm 320 Technical Reference Guide SmarTerm 320 User Guide Registration Packet 320 INSTALLATION For these consider Drive A as the floppy drive and Drive C as the hard drive Locate software package containing program diskettes the diskette SmarTerm 320 Installation Program into the floppy drive At the DOS prompt C a install press Enter Figure 1 appears pressing your 1 Press any key Figure 2 appears The information displayed Figure 2 is determined by SmarTerm chance Version RAM memory are monitor an 80286 Color Color Press any key Figure 3 appears make want 2 3 Figure 3 select Full Installation and press Enter Figure 4 appears which you want plgure 4 cnoose Drive Figure 5 appears as me locatIon smar term to be mstallea press tnter which want press different 4 5 Figure 5 press Enter to select Figure 6 appears subdirectory displayed This directory where you want SmarTerm also AT keyboard keys keys F12 keys manufactured Digital Digital DEC LK250 PC XT Figure 6 select Enhanced Figure 7 appears the keyboard and press Enter 6 7 Figure 7 select None as the graphic display driver and press Enter Figure 8 appears 2001 2001 Wizard 132 column Preview Graphics EGA Wonder VGA Wonder you card more Figure 8 select No 132 column Figure 9 appears press Enter Network will more memory 8 9 Figure 9 select Serial Figure 10 appears as the type of communication press Enter more memory more adequate bytes 10 Figure 10 select 512 the communications and press Enter Figure 11 appears used 90 DPI DPI Printers Printers DPI DPI Printer Printer printer LJ250 252 LJ250 252 Color Proprinter Proprinter LaserJet LaserJet LaserJet 5 dpi arrow more 11 Figure 11 select No printer Figure 12 appears used and press Enter you version WordPerfect Figure 12 select No for the VAX option and press Enter Figure 13 appears more


