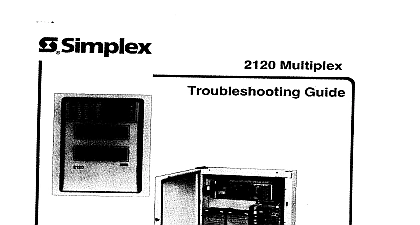
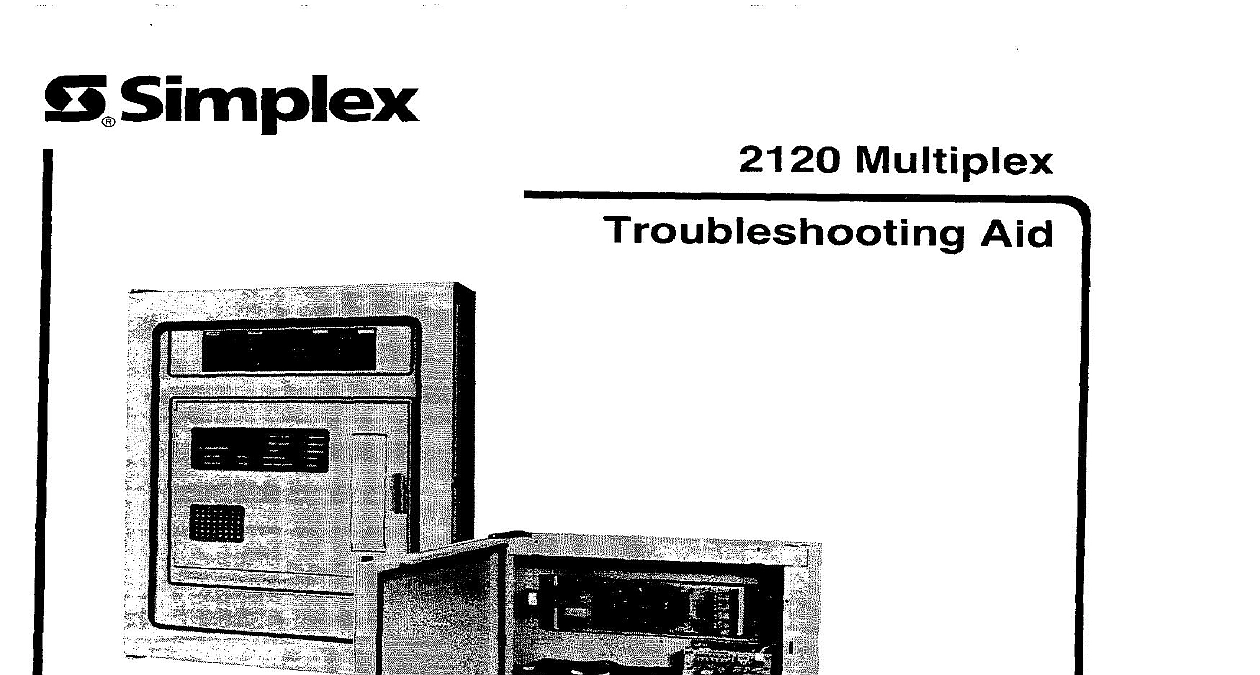
Simplex Troubleshooting Aid
File Preview
Click below to download for free
Click below to download for free
File Data
| Name | simplex-troubleshooting-aid-7428365091.pdf |
|---|---|
| Type | |
| Size | 1.72 MB |
| Downloads |
Text Preview
S Simplex Multiplex 7 TROUBLESHOOTING ALWAYS CHECK POWER SUPPLY TROUBLES FIRST Always remove power batteries AC before changing parts Troubles clear BE PATIENT a few seconds TROUBLE MESSAGES BMUX test points are shown in Figures 1 through 3 TBL 01 IN SYSTEM ABN POINTS ARE DISABLED leaving system normal you have disabled points for troubleshooting purposes Re enable points TBL 02 IN SYSTEM ABN MN PWR LOSSGND DET MAIN POWER LOSS GROUND DETECT Check yellow power supply LED If on Chassis OV 12V chassis for grounds on DC lines Isolate ground to or side by checking between chassis to OV or supply 30V 15V values communication channels one channel at a time If yellow power supply LED goes out ground is on that channel all ADDS terminals TermiNets and printers Ensure that 3 to 2 adaptor 562 047 RS232C board is used Correct if needed grounds by disconnecting comm lines at DC transmission boards 24V 12V chassis present on AC plug yellow power supply LED is OFF check the following AC input at TBl 1 and TBl 2 on the AC I O board Correct if needed that Kl relay is picked brown out circuit if necessary See Figure 4 Note that Kl also out if 24VDC exceeds 30VDC BMUX power supply fuses including in line battery fuse that battery harness loop is not open outputs of power converter board power supply if fuses converter board and battery harness check out OK TBL 03 IN SYSTEM ABN SERVICE DIAGNOSTICS Occurs when you are using 2120 Diagnostics Be sure to turn diagnostics OFF after all troubleshooting are done Check printer paper TBL 04 IN SYSTEM ABN LOC PRTR PAPER LOW LOCAL PRINTER PAPER LOW that printer side panel is secure paper and side panel are OK check printer microswitch and wire between microswitch and controller TROUBLE LOFAIL Local Printer Failure Check across Cl5 on printer controller board For TI printers P N 616 684 voltage voltage is listed on printer label from 15.1 to 17.2V 18V For printers P N 616 877 level is too adjust R23 on printer controller board until rated voltage is present THE VOLTAGE ACROSS Cl5 NEVER EXCEED PRINTER RATED VOLTAGE ALSO BE CAREFUL WHEN CHECKING ACROSS Cl5 TO AVOID SHORTING VOLTAGE TO PRINTER CONTROLLER BOARD Check harness between BMUX motherboard and printer controller board Replace if needed Other possible problems printer controller board RS232C board TROUBLE REMOTE DEVICE 2 to 6 FAIL Check switch settings on RS232C boards Correct if needed present port is supervised check remote device as follows that power that RS232C connector RS232C cable device in place Other possible problems RS232C board CPU board SUPPLY BOARD 562 076 562 520 Cl by hest sync Cl by hest sync side of Cl by beet sync side of Cl by beet sync motherbd AIC Low I motherbd AIC Low motherbd motherbd nlomrw nlomrw motherbd used A C input bd A C input bd AC AC M bd volt vow w 24c VC votle volts VC volts VC vob 1 2 1 2 3 4 5 6 7 6 1 2 3 1 2 3 4 Ii 6 Power Supply Board Outputs 1 Check for presence of DC operating voltages at 24V W and OV test points on upper right corner of front panel Check comm for shorts by removing connector on DC transmission board and checking following AC BMUX Troubleshooting board Disconnect power when replacing PC boards by Disconnecting batteries Disconnecting AC last board terminals 1 A at TB3 22 1A at TB3 21 1 B at TB3 24 1 B at TB3 23 2A at TB3 17 2A at TB3 16 28 at TB3 19 28 at TB3 18 POS MOTHERBOARD 662 167 or 662 ussd WVC volts volts volta Power Supply Bd Power Supply Bd Power Supply Bd Power Supply Bd Power Supply Bd Power Supply Bd Ribbon Cable connects the front penel Display Bd Motherboard 2 To Sonelett On Power Supply Bd volts P2 2 On Power Supply Bd 24VC P2 1 On Power Supply Bd To advance switch on printer bd Used volts To advance ewltch on prlnter W Controller Voltage 3 CHANNEL TROUBLE MESSAGES TBL 01 CHANNEL or 2 ABN CHANNEL NOT XMITTING also reported troubleshoot CHANNEL NOT XMITTING CHANNEL HAS FAILED message Check switch settings on affected transmission board Check switch settings on CPU board Check for presence of 30V to the DC transmission board Check at TBl 1 power converter board If 30V is not present and no power supply troubles have been reported the low power converter board and TBl 2 on the Connect VOM across RED and BLACK volts battery connectors Other possible problems DC transmission board CPU board PROCEDURE Locate R2 R8 R12 and R20 Remove batteries Disconnect Reconnect AC power ONLY Adjust R12 fully clockwise AC P3 and P5 Adjust R8 until VOM reads 26 volts Connect VOM across of R2 volts battery connec BLACK SLOWLY adjust R12 At some point on the VOM will voltage 9 volts This at this point about 33 volts the TRIP POINT Now SLOWLY adjust R8 counterclockwise VOM about 33 volts Stop at the trip back Connect VOM as in Step 6 above Adjust R8 until VOM reads about 27 volts Remove AC power Carefully connectors Step 3 Adjust R20 on the power supply until VOM reads 24 volts Apply Kl de energizes relay Kl energizes 12OINEUT R27 until apply 106VAC and adjust R27 102VAC can be obtained a standard a variable AC supply variable AC and a variable 478 187 Do not adjust R27 unless you building Apply normal power BMUX Power Reapply Reconnect Be extremely Connect VOM across P6 1 and P6 2 on the power supply or TB2 1 and when performing on the AC I O board Power Supply Adjustment 4 TBL 02 CHANNEL or 2 ABN CHANNEL HAS FAILED More than one transponder may be causing trouble CHANNEL NOT XMITTING was also reported Disconnect affected channel at DC transmission board If CHANNEL NOT XMITTING message clears look for on affected channel Use half splitting DC transmission board Replace if necessary CPU board Replace if necessary find the short CHANNEL NOT XMITTING was not reported as well Check harness harness if necessary DC transmission board to AC I O board Ensure connectors a