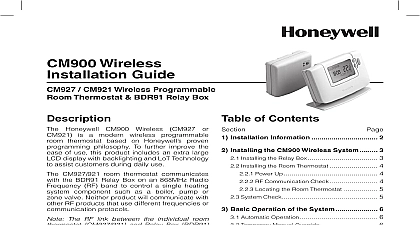
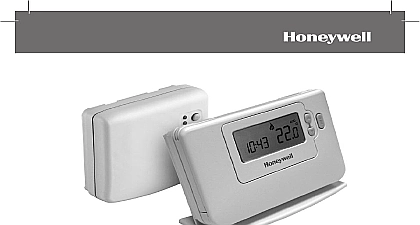
Honeywell Thermostat CMR707A1049 User Manual

File Preview
Click below to download for free
Click below to download for free
File Data
| Name | honeywell-thermostat-cmr707a1049-user-manual-6037159842.pdf |
|---|---|
| Type | |
| Size | 690.72 KB |
| Downloads |
Text Preview
1 User Guide USER GUIDE a Honeywell CMR707 room to control your heating when are at home and energy when you are away The set up program and your Honeywell CMR707 Ergonomic Large 7 day heating program to match your lifestyle whilst 4 Holiday Built in Layout THE CMR707 Started section shows you how to setup and run the thermostat in 3 simple steps 1 Installing the Batteries if the Battery Indicator showing or the thermostat screen is blank no symbols digits are displayed replace the batteries as follows otherwise please go directly to Step 2 the Date and Time install the Batteries Lift Remove Insert the 2 x AA LR6 Alkaline Batteries supplied with the thermostat ensuring the correct Layout After Replace RESPECT YOUR ENVIRONMENT Take care to dispose of used batteries carefully 2 Setting the Day and Time set the Day and Time Press Press Press Use press of the buttons will change the time by one minute and holding them down will Note If this mode is entered accidentally then press the AUTO MAN or OFF buttons to exit 3 Running the Built in Heating Program button The built in heating program has been designed to provide normal comfort requirements if you want to customise the settings please see the next section the CMR707 THE CMR707 Built in Heating Program Each temperature level can be set between 5 and 35 and adjusted in 0.5 Daily Use to Friday 1 to 5 Sunday 6 7 Daily Use THE CMR707 the Heating Program review or edit the heating program use PROGRAM buttons to navigate button day of the week so the complete 7 day or the Heating Program change the heating program Press either of the PROGRAM or to enter the programming mode time temperature settings for period on Monday Day 1 will be flashing as or To adjust the period start time use the buttons the indicator will be or and the display flashes the next it means the next period will be forward Note If you are pressing the Once the required time is reached press Note If the original time setting did not adjustment press the green to move to step The temperature setting for period on Day 1 will now be flashing To the setting again by pressing the The be active Adjust this by repeating Monday or press the AUTO button to which now have a choice of how to set the for the next day i Press the COPY DAY button to copy go blank apart from the flashing day Once the target day is confirmed it the day that is copied if the COPY button is pressed again OR Press the DAY button to move the day to Tuesday Day 2 The program to e exit the programming mode select the operating mode by pressing the or buttons To run the program select the AUTO mode Enabling Time Periods thermostat has 4 periods each day that be programmed but you may not need of these switch points for your heating Therefore any period from 2 disable or enable time periods To disable unwanted periods go to the period to 4 using the the correct period is highlighted button for at least 2 seconds the To enable periods again follow the same as above navigating to the disabled period To enable this


